
By Kim Lavender
I have a secret. I can’t ride a bike. Yes it’s true, I work at Bicycle NSW but can’t ride a bike.
Like many, I started riding my first bike as a kid, around 5 years old. The bike came with training wheels and the riding began.
Due to medical reasons with the family, the riding never continued. When I was 20, I ventured to the Aran Islands in Ireland. A 9km loop around the Island that you can do by bike or on a horse and cart. While the horse and cart seemed like a ball, it was expensive – so bike it was.
I started pedalling and hoped for the best. I managed to explore Inis Mór and was amazed by its beauty. Check out some of the images below! However, I can say, I had zero control while on the bike. A fellow rider pulled in front of me, I didn’t know how to swerve so I ran right into them and landed on my bum - getting a nice bruise in the process. Not to mention knocking them off their bike as well.

Inis Mór in the Aran Islands.

Inis Mór in the Aran Islands.
Needless to say a few years later and I still am not confident on a bike. After a year of working at Bicycle NSW I decided to give this riding thing a go. Hearing so many positives of riding bikes, it’s hard not to feel like you need to be riding too. Of course, pride did get in the way. I found ways of hiding that I couldn’t ride - like many of us do. It’s assumed knowledge that you know how to ride a bike and everyone that doesn’t often feels ashamed that they don’t. Imagine me having to admit that I can’t ride and working at Bicycle NSW!
So I made the commitment to myself and to everyone reading this, that I will be riding to work by the end of the year.
So where to start? Find a program that will teach you the basics of riding. A simple internet search and you should be able to find one in your area. If not, contact your local Bicycle User Group (BUGs) and they should be able to give you a hand. Luckily working at Bicycle NSW I knew exactly who to contact, but I understand not everyone will be in the same position.
Charlene from Addventageous runs programs for people in lower socio economic environments to help them get riding. Also an accredited Cycling Australia facilitator of the She Rides program and an affiliated BUG of Bicycle NSW.

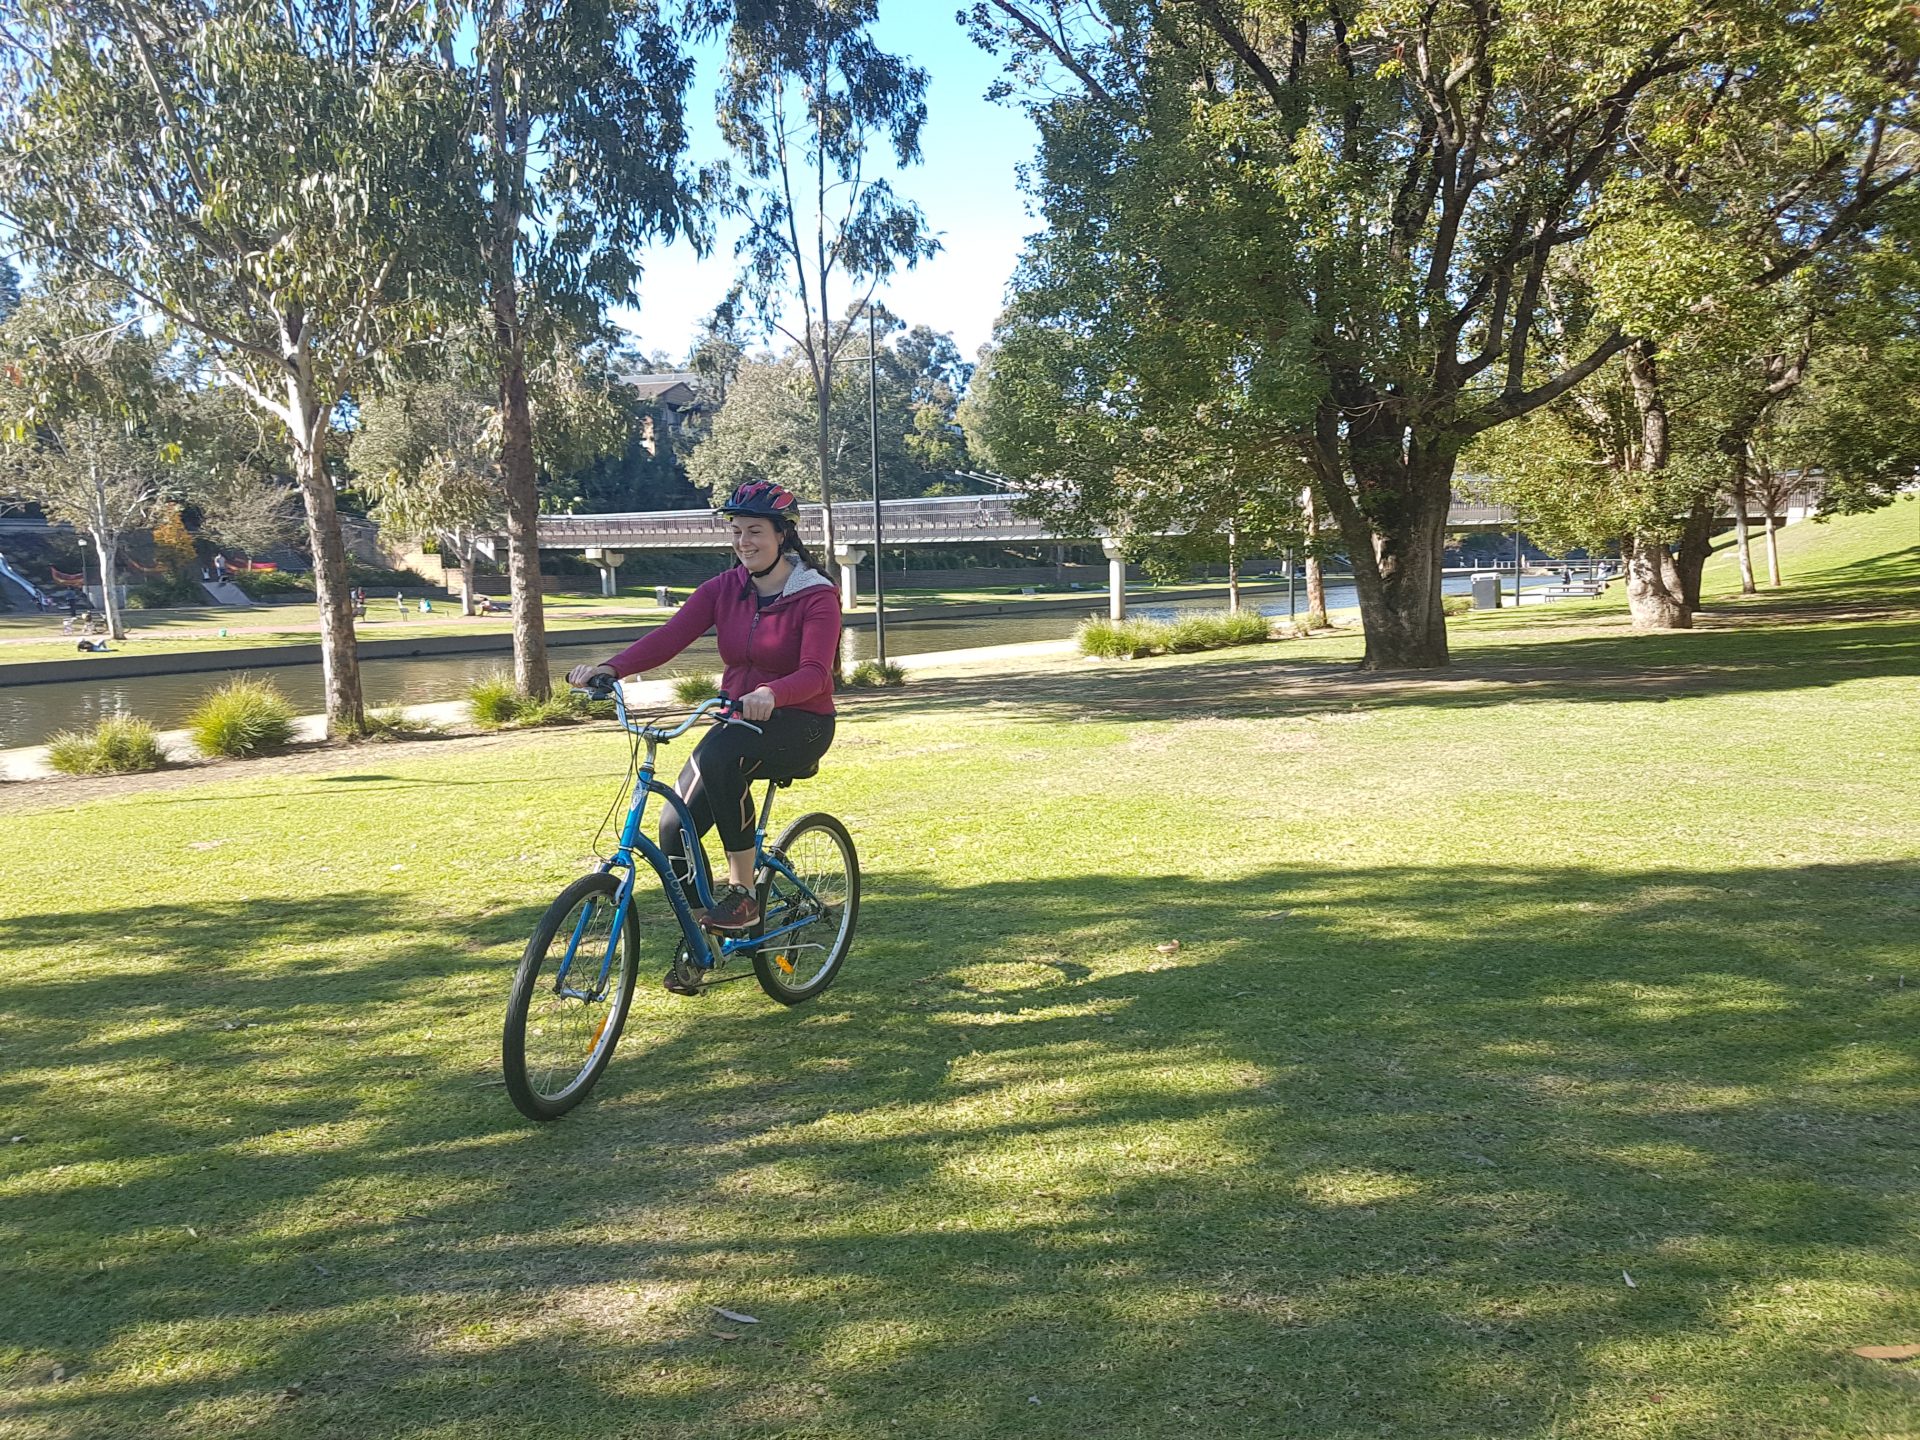
Parramatta River
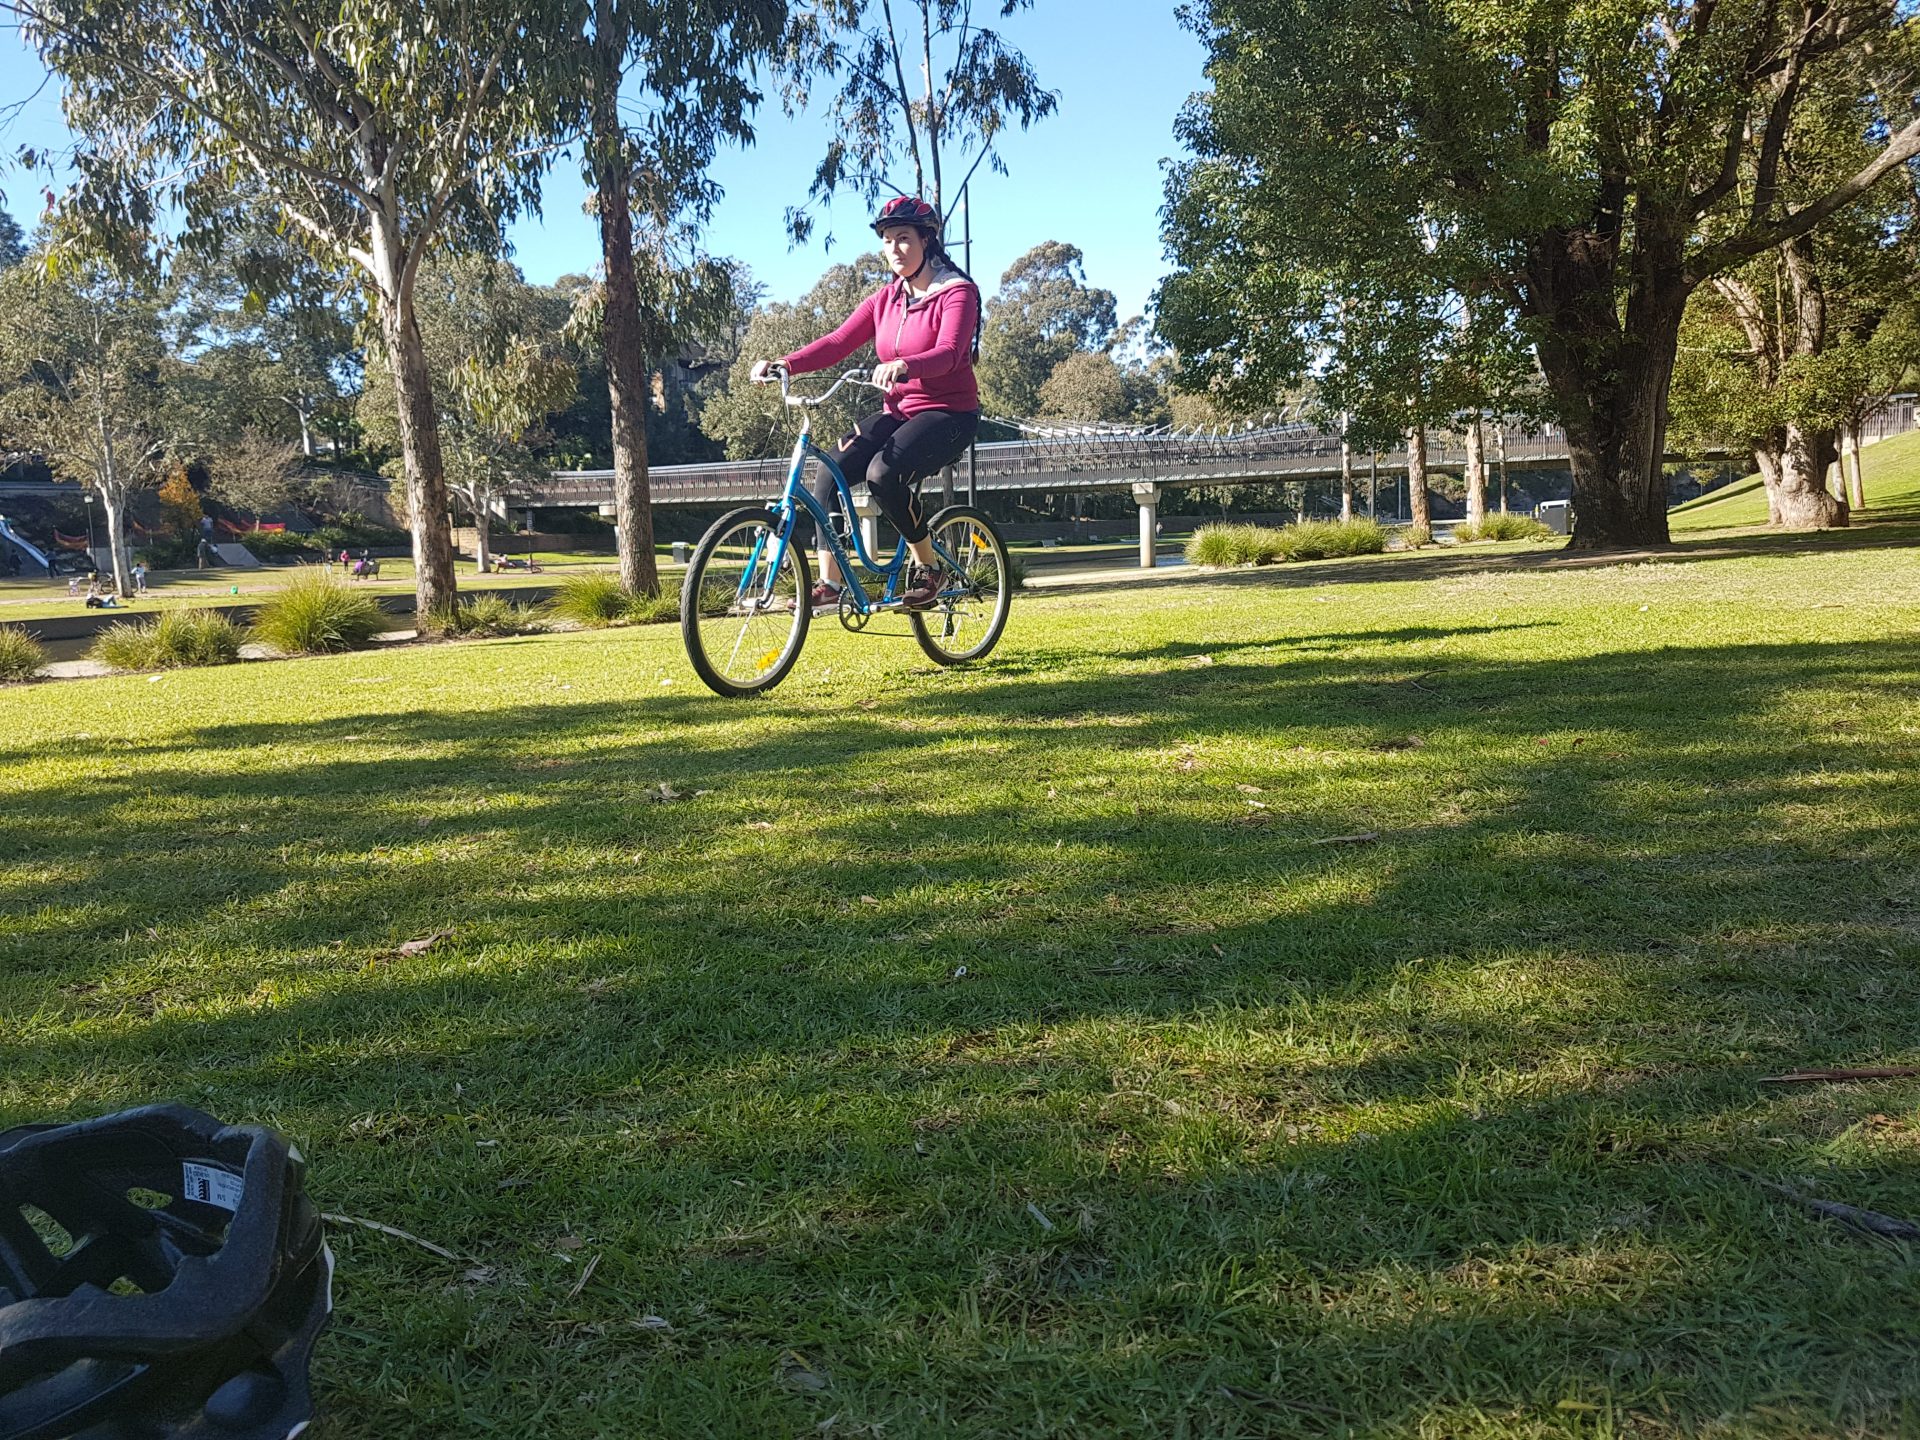
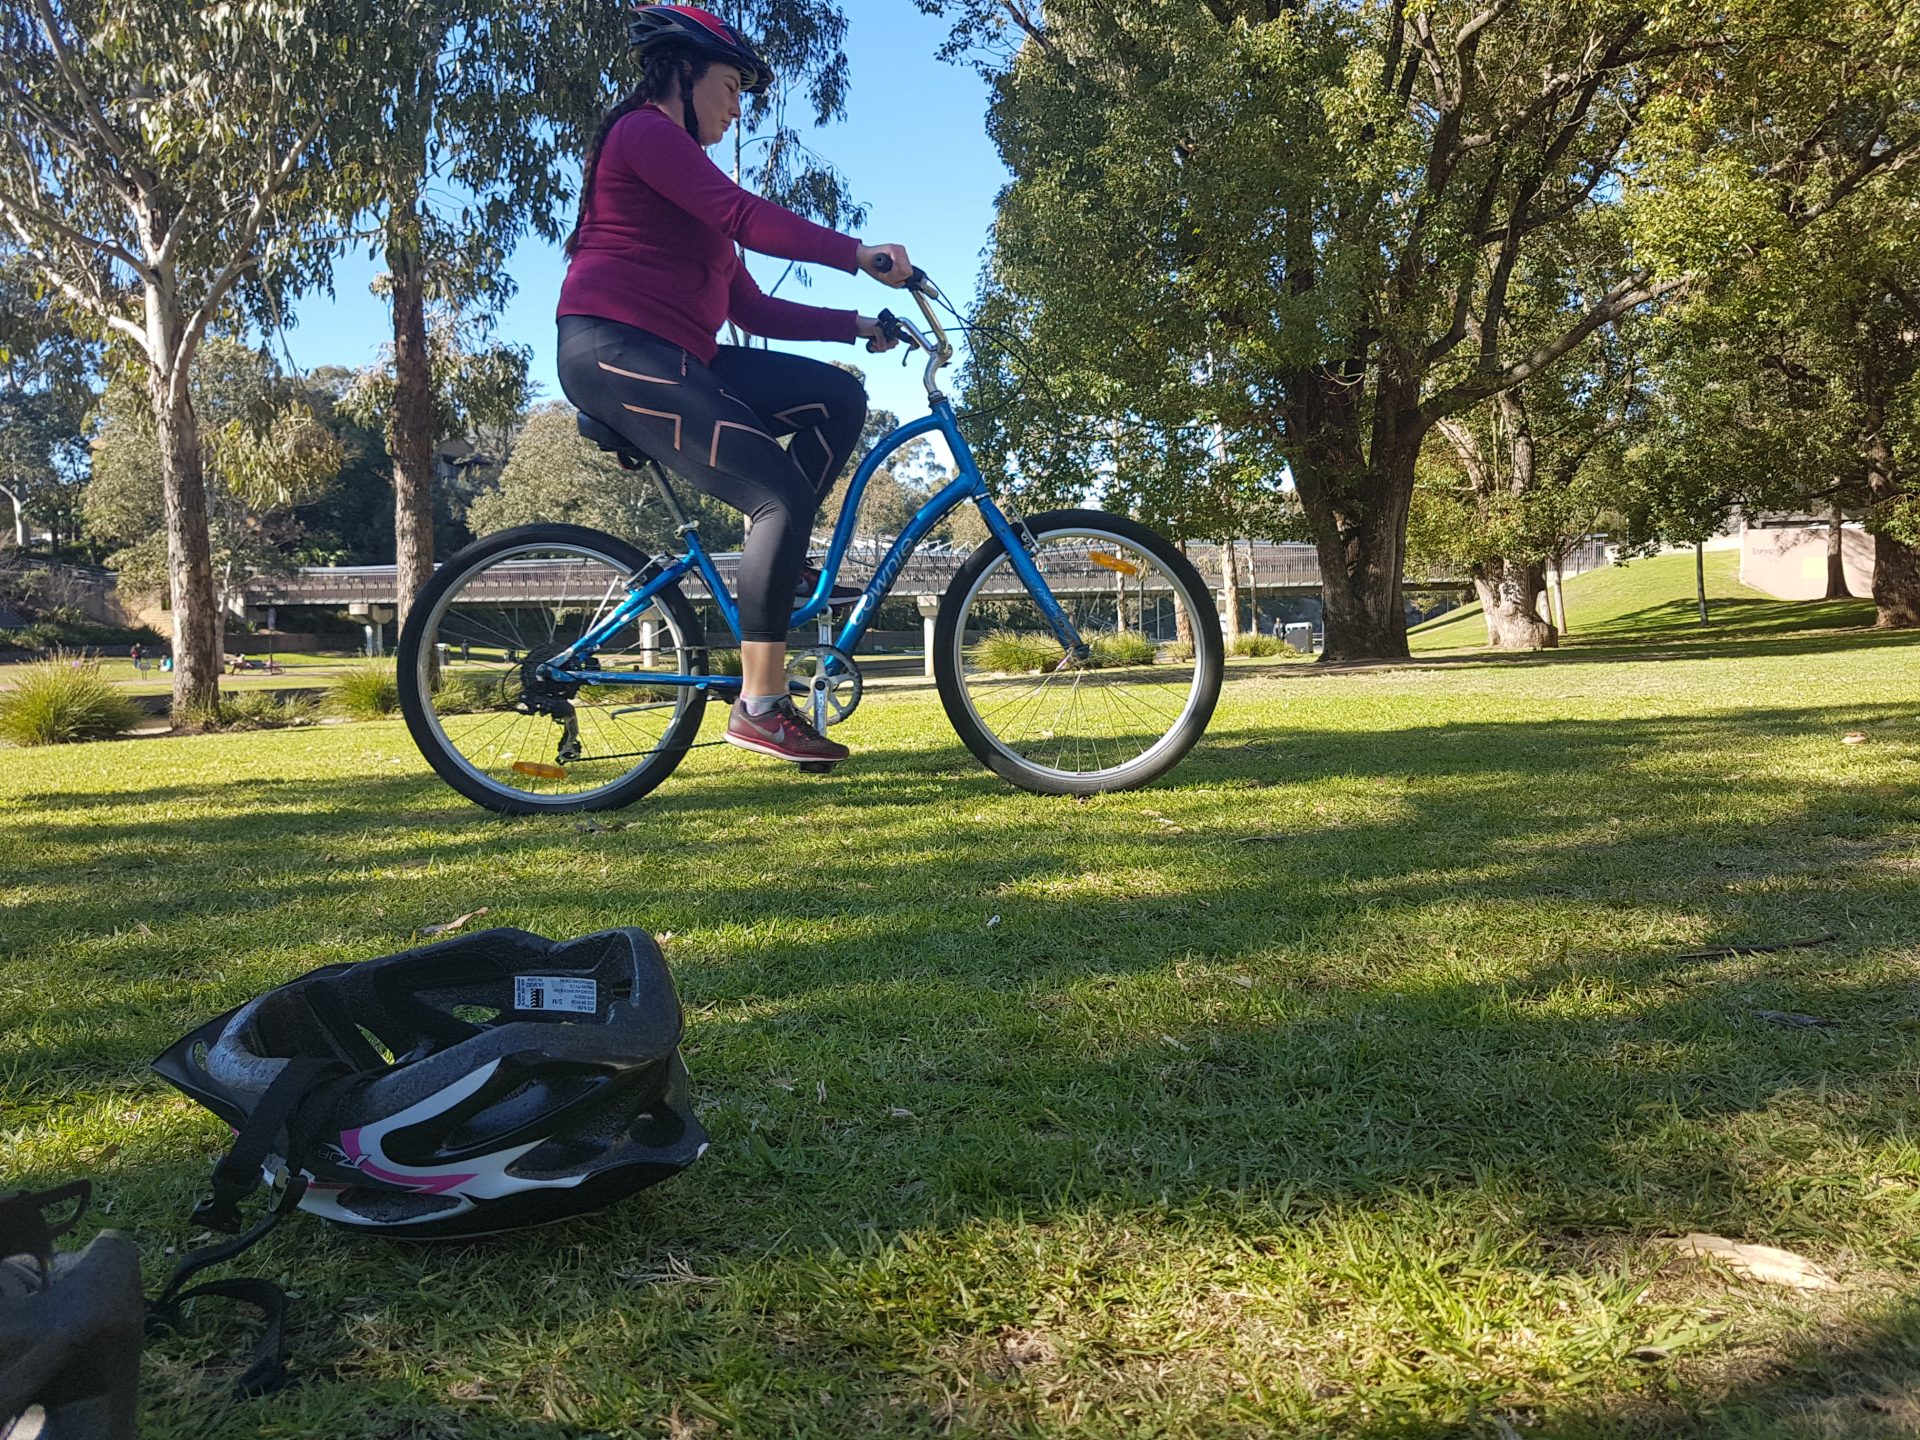
I did it!
At our first lesson, we met up on the bank of the Parramatta River, right on the Parramatta Valley Cycleway. A beautiful sunny winter’s day to get riding but not before a check of the bike - ABCD.
A is for Air
B is for Brake
C is for Chain
D is for Drop (lifting the bike a few centimetres above the ground and dropping it, listening for any odd rattles)
Riders who have been cycling for ages will know how to do these checks but for beginners, these are essential things we need to learn to be able to ride safely. These checks ensure that the bike is functioning well. As a rider you want your bike to be as safe as possible so both you and the bike can react to your surroundings.
The helmet was next. The main thing here is the 2 fingers rule. The helmet should sit 2 fingers above your eyebrows and you should be able to run 2 fingers under the chin strap. Also the triangles of your strap should sit underneath your ears. See below.
First things first, as I hadn’t ridden in a while, Charlene began with me sitting on the bike and moving it with my legs (no feet on the pedals). Just to get comfortable with the bike and also give the ability to adjust the seat if needed, which we did.
Next, Charlene had me dismount the bike and talked me through how to get on the bike and power push. In Australia, you should mount a bike on the left side – the same side of the road that we cycle on. As the bike leans into the side you’re getting on, it won’t be leaning into oncoming cyclists or pedestrians (on the right hand side). That is also why you power push with your right foot.

Standing on the left on the bike

Mounting the bike from the left

Power Push Position
If only it remained that simple! There are still skills to master to be a safe and confident rider – braking and turning to name a few!
The next step step was the hardest! Working on my balance and cornering! We set up bike helmets as witches cones for guides, and I found out my balance is sorely lacking on a bike, but practice makes perfect, right?
The key tip here is look where you want to go. It took awhile for me to get the hang of this and the foot came out onto the ground to stop myself from overbalancing a few times. It didn’t take too long to start to improve but it’s definitely something that still needs working on!
Next was the braking. Charlene then went through 3 different ways to brake in different circumstances.
- Simple brake - using both the front and back brakes in order to stop at a slow speed
- Braking to a stop with feet staying on pedals for 3 seconds - this one works on your balance
- Hard brake - get up some speed and learning to counteract the momentum to keep going forward if you need to hard brake.
A lot to take away from the first lesson with Charlene and many things to practice over the next week.
When people say “It’s just like riding a bike”, for some that means it’s hard, and not as easy as suggested. Riding a bike is not easy, it’s a skill set that you need to learn with practice. So that is what I will be doing - practice, practice, practice – until I feel comfortable.
So where to from here? I will be sharing my progress with you on a weekly basis to hopefully encourage others to start riding. Learning to ride doesn’t just happen as a child, but rather throughout your whole life. Don’t be limited and feel inspired to learn to ride. Will you join me?
A big shout out to Charlene who will help me on this journey over the next few months.

This piece is not supposed to replace lessons with a qualified instructor. Bicycle NSW strongly advises to seek training from qualified rider leaders or instructors.